Showing posts with label quilling. Show all posts

Friday, May 3, 2013

quilling my own name


after a long hiatus from quilling,
one day i woke up with a strong determination to do quilling.
and my determination came in the right moment because the next day is labour day.
so I technically spent my holiday with quilling my name and a lot of....
err... sleeping.

I love to quill flower!
and I love to see the end product of quilled typography.
but i hate to do it.
Its so  time consuming!

Before this I successfully made quilled typography for 3 people.
but I never quilled my own name.
So, i decided to make one.
Start up my gear on the morning of 1 May 2013
and finished it on 3rd of may

Although its a bit early, i guess this is my birthday present to myself :)

Wednesday, September 12, 2012

Quilled Flower 6 : Cherry Blossom

Been busy lately~
Preparing for my new life to come as a working woman.
I am no longer a student and no longer an unemployed.
But I got one last request for quilling on album.
So i decided to produce some new flower.
With the tutorial from Inna's Creation,
I manage to make Cherry Blossom.

Cherry blossom pink  sweet~
Cherry blossom with ladybird~

Monday, September 3, 2012

What you should have to start quilling

If you search the internet,
you will found a lot of sites that offer you a beginner tutorial on how to quill.
Thats why i never make a tutorial on my blog~

But i often received a question from people who are interested in quilling,
but they have no idea how to make it at all.
And their favorite question is what are the tools~

So today i will show you what are the basic tools for you to start quilling~

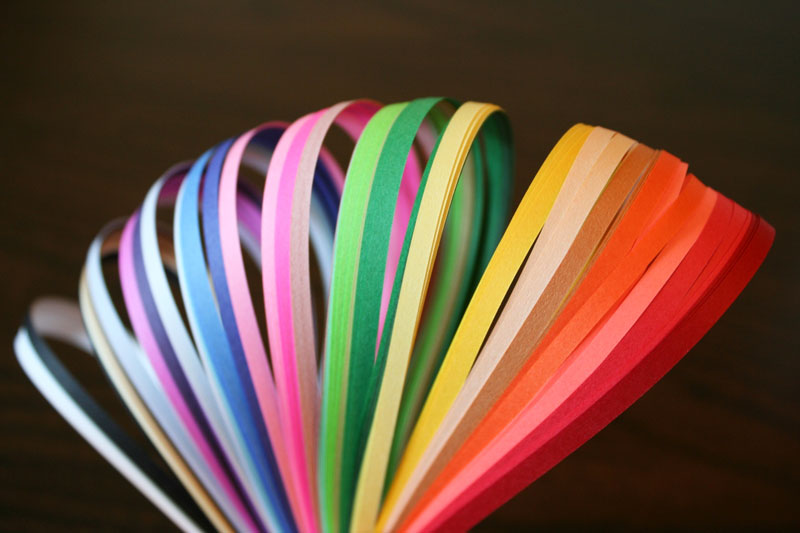
1.  Paper strip
The size that are normally use for quilling is 3mm.
image source
You can buy the paper strip, cut it yourself or cut it using paper shredder.
But if you cut the paper with paper shredder, you will have a rough edge paper strips.
I like the rough edge better than the clean one~
This is when I cut the strip myself
This is when I used paper shredder. Can you see the difference?
I bought my paper shredder at  http://www.lps2u.com/ .

2. Slotted Tool / Needle Tool
[Click here to buy and its the same source for the image] Slotted tool. It has a small slit for you to insert the strip and hold the strip while we make a coil.
[Image source] Needle tool
I prefer slotted tools because its easier to use.
You can make your own slotted tool,
this is the tutorial.
When I first try to quill,
I used the pimple needle (because its easy to find, you can buy it at any supermarket).
[Image source] Pimple needle


3. Glue
I recommend you to use PVA glue.
I used water glue before(standard glue that you can easily found at stationary),
but its wet and will affect the coil that you have quilled.
And I bought Tip Applicator Bottle and fill the glue inside.
It will make it easier to glue your small quilling strip.
[Image source] Tip Applicator Bottle

Ok, thats all you need to have to start a quilling.
What I will list next, are optional.

4. Circle template
[Image source] Circle template
Circle template is used when you want to produce many coils with the same size.
Circle template can be found at stationary.
I bought mine for RM1 only~

5. Tweezer
[Image source] Tweezer
Tweezer will make it easy for you to pick up the delicate coil~

There are many sites that sold quilling tools.
I hope this entry will help those who want to start quilling :)

Wednesday, August 8, 2012

Quilled Animals

ladybird ladybird fly away home~
katak oh katak
Butterfly~~~

Wednesday, July 18, 2012

Quilled Flower 5 : Beehive Technique

I found about Beehive technique on youtube.
It was invented by Susan.
This is my 1st outcome:

Beehive Technique
Diameter : 5 cm
the petal looks like kerawang in ukiran melayu~  ❤ it!

 I followed the tutorial in youtube by Pritesh~
have fun trying :)


Tuesday, July 17, 2012

Quilled Flower 4 : Daisy

This is a fringed technique:

Fringed Flower
Diameter : 2 cm

With this technique,
we can produce Daisy~

Fringed Daisy
Diameter : 2 cm
Tutorial Credit : Paper Quilling for the First Time by Alli Bartkowski

Monday, July 16, 2012

Quilled Flower 3 : Cascading Loops Technique

Cascading Loops is a technique that need you to use Quilling Comb.
I learned how to make a cascading loops with the help of LHGC tutorial.

Here is some flower that i made using this technique:

Cascading Loops (1 Tone)
Diameter : 6.7 cm


Curved Cascading Loops (2 Tones)
Diameter : 8 cm


Twisted Cascading Loops (2 Tones)
Diameter : 7 cm

Sunday, July 8, 2012

Quilled Flower 2 : Basic Shape

Today i will show quilled flower formed by basic shape in quilling~

CIRCLE

tight circle petal
diameter : 2 cm

TEARDROP

inward teardrop petal
diameter : 3.5 cm

outward teardrop petal
diameter : 4.5 cm

curved teardrop petal
diameter : 4.5 cm

MARQUISE

marquise petal
diameter : 4.5 cm

curved marquise petal
diameter : 4.5 cm

SEBARANG TEMPAHAN ATAU PERTANYAAN BOLEH DI EMELKAN KEPADA:
ilham_if@yahoo.com

Saturday, July 7, 2012

Quilled Flower 1 : Roses

One of my friend asked me if I know how to quilled flower other than Malaysian flower.
The answer is yes.
I always produce Malaysian flower because I love the way it looks~
So in this entry i will show quilled roses:

Name : Heart-Shape Petal Rose
Diameter : 4 cm
Tutorial Credit : Paper Quilling for the First Time by Alli Bartkowski

Name : Scallop Cut Rose
Diameter : 2.5 cm
Tutorial Credit : Lin Handmade Greeting Card

Name : Folded Rose
Diameter : 2 cm
Tutorial Credit : Paper Quilling for the First Time by Alli Bartkowski

SEBARANG TEMPAHAN ATAU PERTANYAAN BOLEH DI EMELKAN KEPADA:
ilham_if@yahoo.com


Wednesday, July 4, 2012

Malaysian Flower, again~

I just love making Malaysian Flower.
Its neat and full.


SEBARANG TEMPAHAN ATAU PERTANYAAN BOLEH DI EMELKAN KEPADA:
ilham_if@yahoo.com


Friday, June 29, 2012

Bookmarks

Ini adalah hasil kerja adik saya:


Lollipops everywhere~~~


Rekabentuk : Nur Adibah

Adik saya, Adibah cakap saya seorang yang mementingkan keseimbangan (simetri) dalam hasil kerja saya.
Frame di atas ini dihasilkan oleh saya,
tetapi kedudukan bulatan2 tersebut telah digubah oleh umi saya.
Sebelum digubah, ianya simetri.
Tetapi saya lebih sukakan gubahan umi ini :)


SEBARANG TEMPAHAN ATAU PERTANYAAN BOLEH DI EMELKAN KEPADA:
ilham_if@yahoo.com

Thursday, June 28, 2012

Tempahan Quilling : Frame

Secara teknikalnya, ini merupakan tempahan quilling pertama yang saya terima.
Jadi saya cuba menyiapkannya pada setiap masa senggang yang ada
kerana saya ingin melihat berapa masa yang saya perlukan.


SEBARANG TEMPAHAN ATAU PERTANYAAN BOLEH DI EMELKAN KEPADA:
ilham_if@yahoo.com